Creating Integrated Windows 2003 Server with SP2 and R2

This
article explains how to slipstream Windows Server 2003 R2 Components, Service
Pack 2 with Windows 2003 Server Operating System CD for easier and faster
deployment. 
Prerequists
:-
1. Windows Server 2003 OS CD
(Disk 1)
2. Windows Server 2003 R2
(Disk 2)
3. Windows Server 2003 Service
pack 2 (Download from here)
4. nLite (Download from here)
Steps
1. Copy all the content from
Win Server 2003 Disk 1 to a folder in your hard drive (e.g.
H:\WINSVR2K3)
2. Copy all the content from
Disk 2 to a folder inside the root folder of disk 1 (e.g.
H:\WINSVR2K3\WIN2K3R2)
3. Install the nLite software
if already not installed.
4. Open the nLite
program
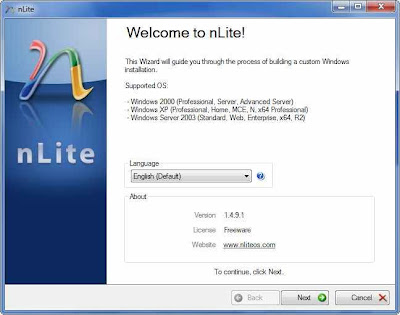
5. Click Next and select the
Operating system source folder folder
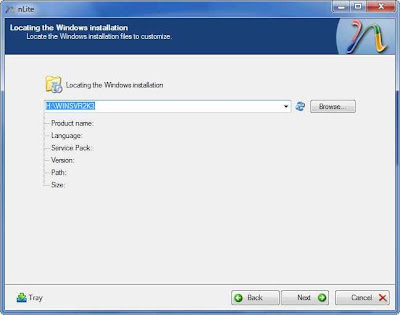
6. Then click Next, the preset
load screen will appear, if you already compiled using nLite you can load the
last settings in this page.
7. Then click Next to select
the customization you want to make.
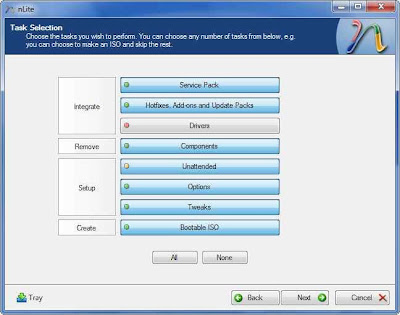
8. Click the select button and
point to the Windows server 2003 SP2 exe

9. Then the slipstreaming
process will start, wait until it completes. After completion the SP2 will
be integrated.
10. Then click next, in this
page you can manually include any hotfixes you downloaded, it should not be
released before SP2.
11. Then click next and select
the utilities you are going to use with the system, it will prevent you remove
the feature in the next page.
(For example removing the
un-needed language packs will reduce the installation size).
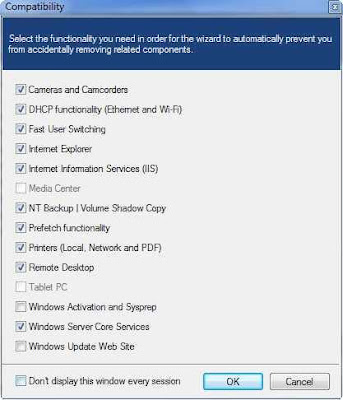
12. Select the unwanted
components you want to remove, such as paint program, Media Player
etc.,
13. Then click next to
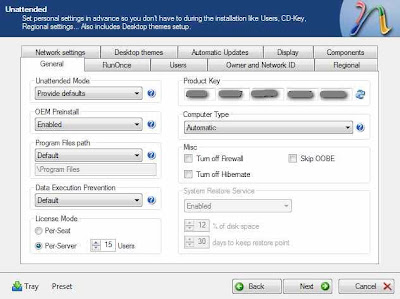
configure the unattended installation options
It's the main part of the
process to configure for unattended installation, you can specify Product Key,
Administrator account password, Windows root folder path, program files path,
Auto update configuration etc.,
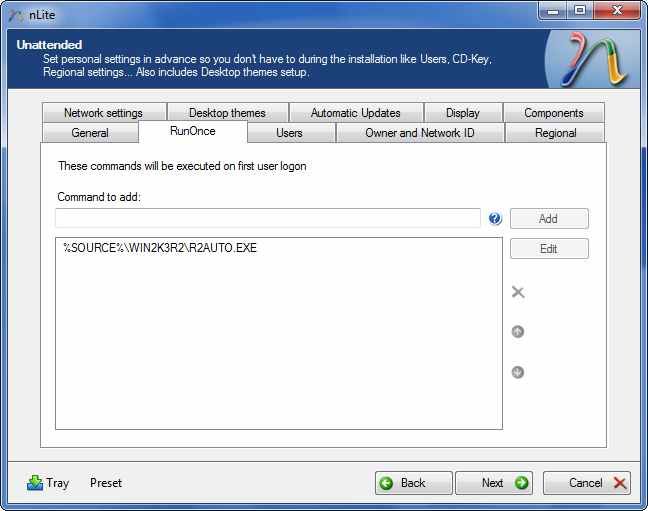
14. Then configure the runonce
tab to run the R2 installaiton process at the first time of logon, you can set
it as silent install.
15. Then click next and make
any customizations if you want.
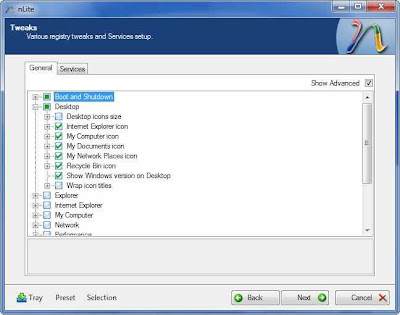
16. In the next page you can make some
tweaks.
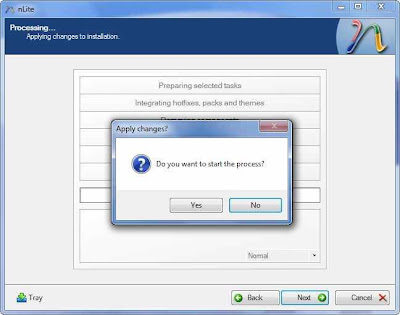
17. Then click next to start
the process of saving the customizations.
18. Then click next, give a
label to the CD, click make ISO to create ISO image.
19. In this stage you can
include any other folders you want to include in this CD. For example MS Office
and other programs you want to integrate in the CD.
Source:INDIA POST PARIWAR

